Hello everyone!
So I am really interested in how you can take words and use them visually to create an image.
My major is advertising and Typography is a very important element in word – driven advertising. This obviously is a very basic image that doesn’t portray any message but it is just a simple example to show what you can do with words!
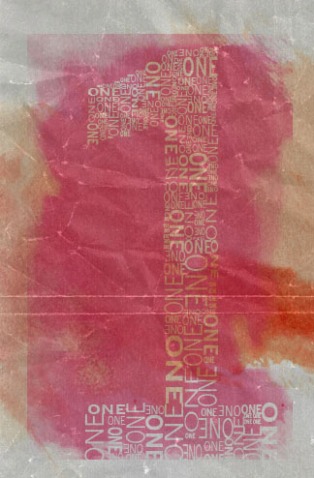
The design that we will be creating is based on the number ‘one’. It’s a number one made up of the word ‘one’ . The overall design is then composed into a poster and given that cool old school retro appearance with stains, textures and distressed elements. We will be using both Illustrator and Photoshop to create this poster.
Step 1:
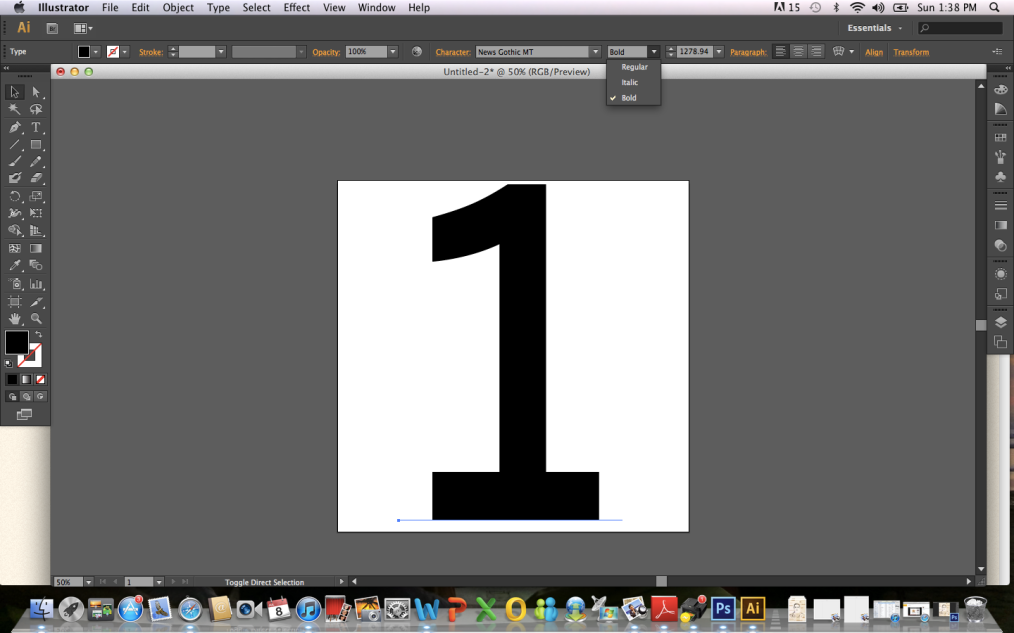
So we are going to start off in Illustrator. Type out the number one in a font of your choice. I used News Gothic in Bold so that there was plenty of space.
Step 2:
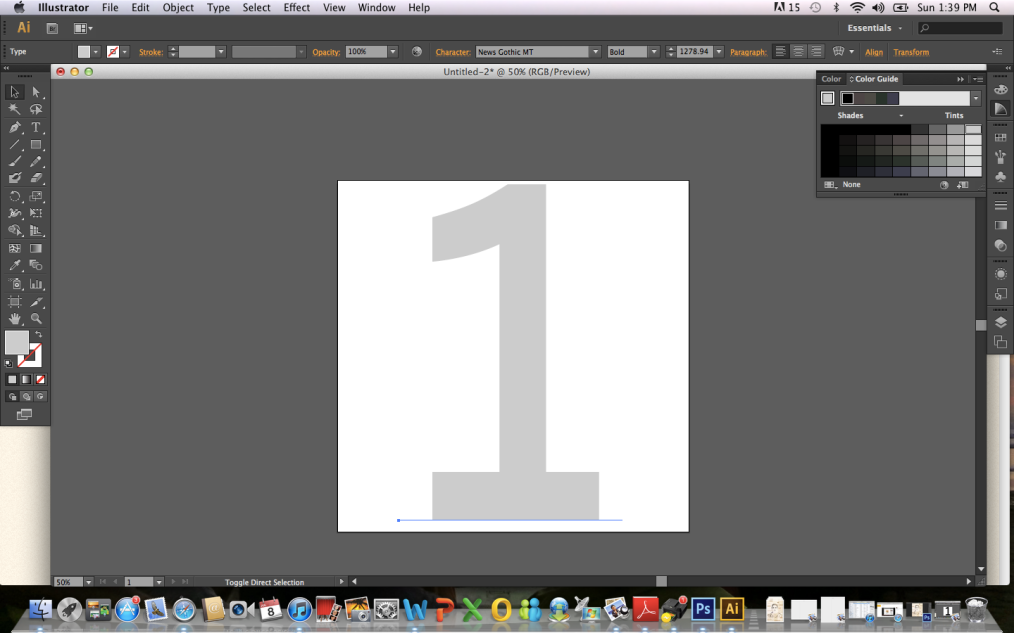
Give the number a light grey fill and then lock into place using COMMAND + 2.
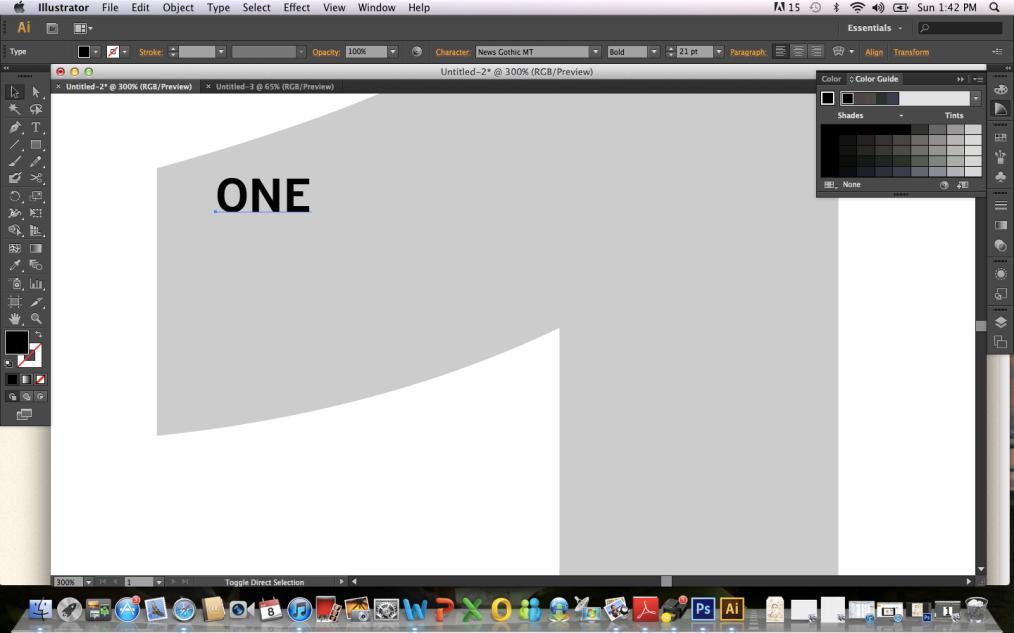
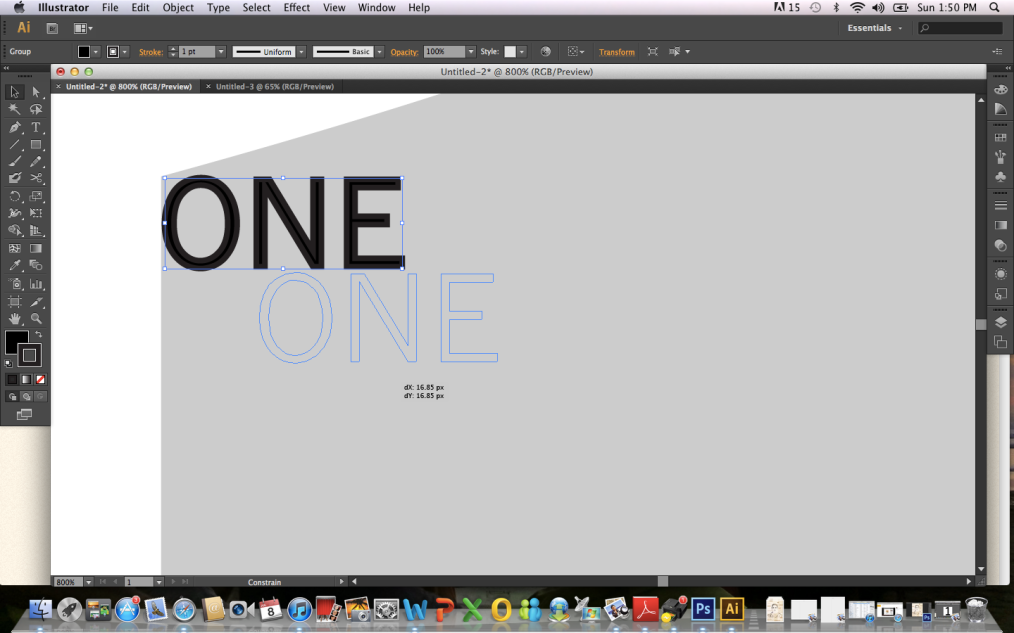
Using the same font type out the actual word ‘ONE’.
Press CMD + Shift + 0 to convert the text to outlines.
Step 3:
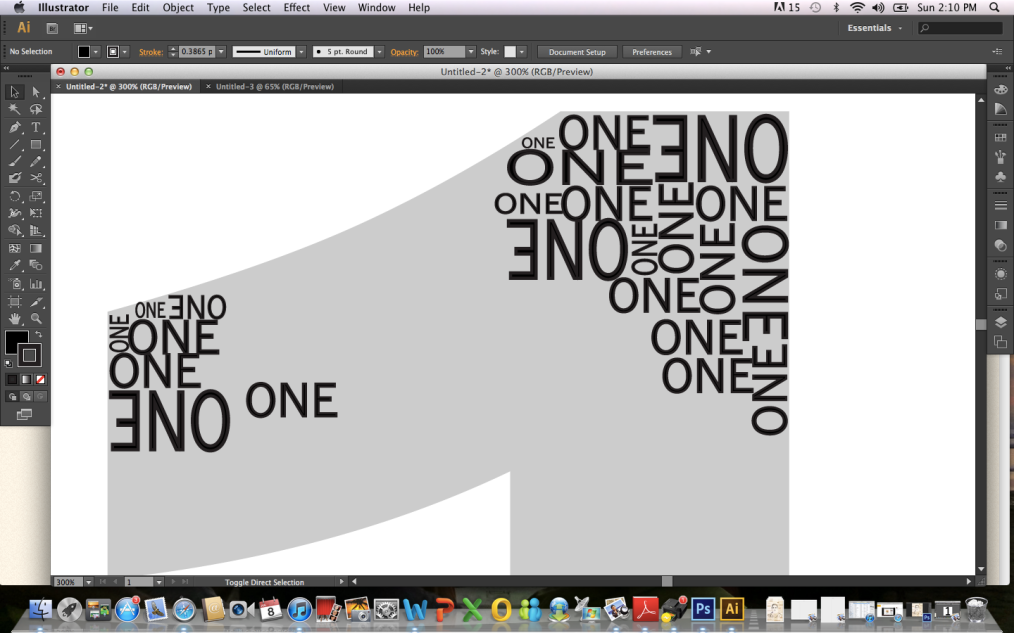
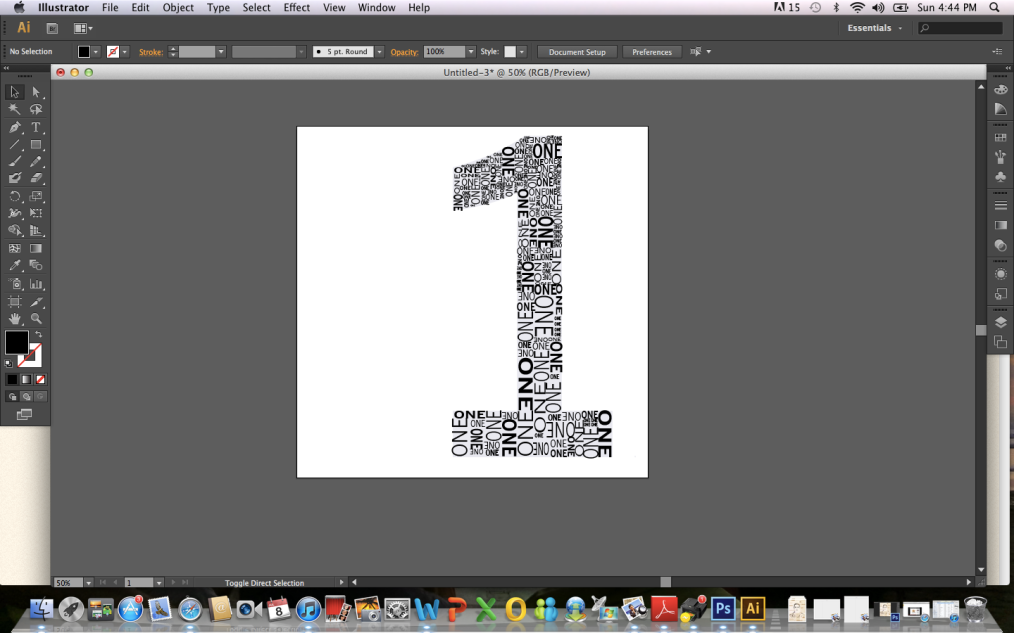
Hold ALT to create a duplicate of the text object. then start to scale, rotate and vary the size of the object. Continue to duplicate, scale and rotate and fill the whole grey area from top to bottom.
Step 4:
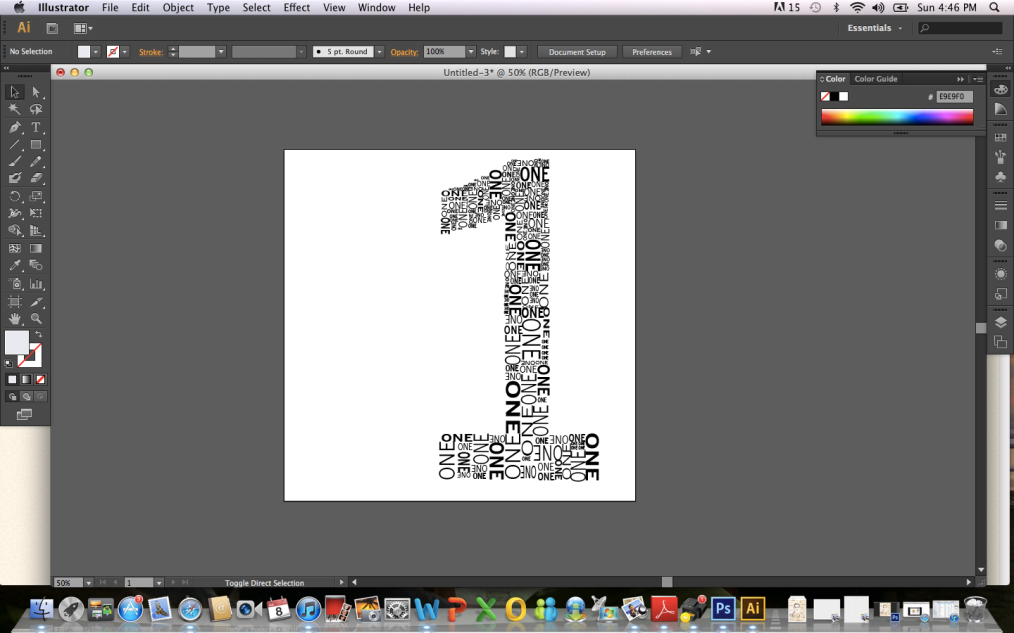
Press CMD+ALT+2 to unlock the image. Select the entire image and press Shift to remove the background guide from the selection.
Step 5:
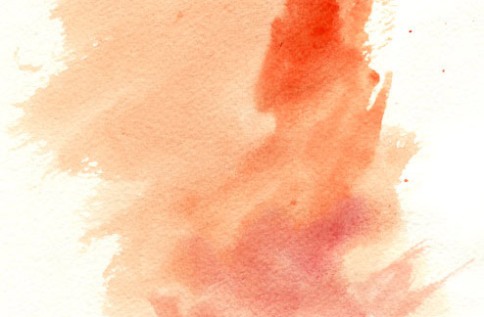
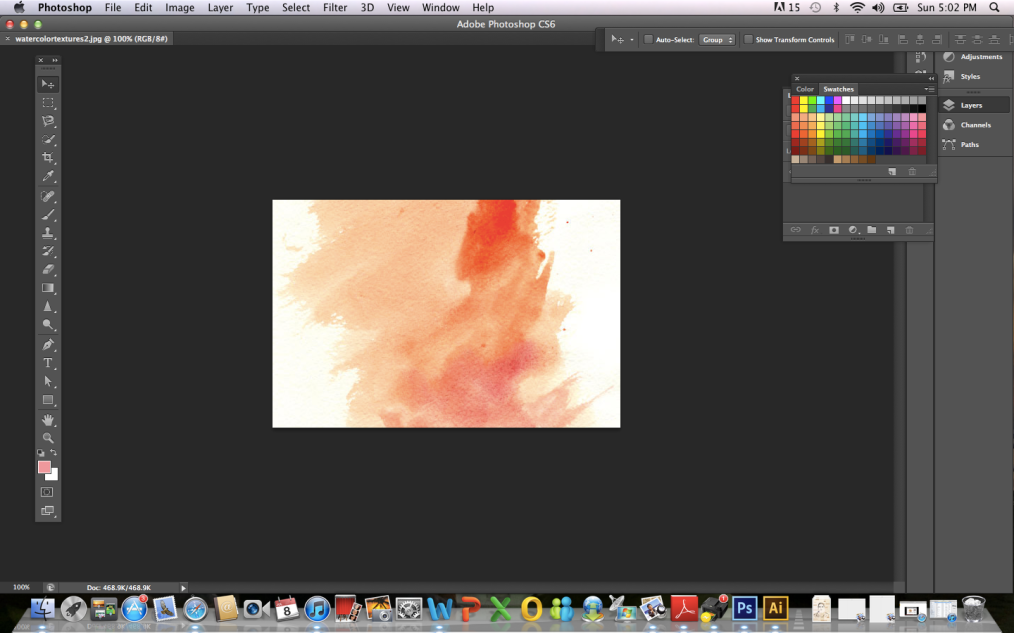
Now we are going to work in Photoshop. We need an image of a water colour texture (I got mine from google).
Open up this image in Photoshop. Use the Crop tool to clip the background down to exclude any white page.
Step 6:
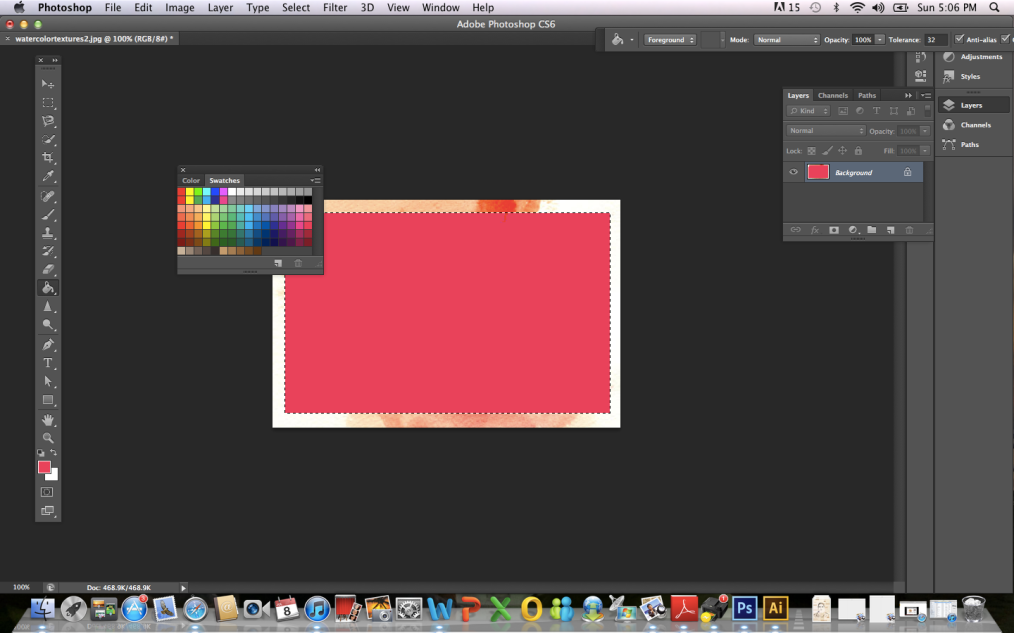
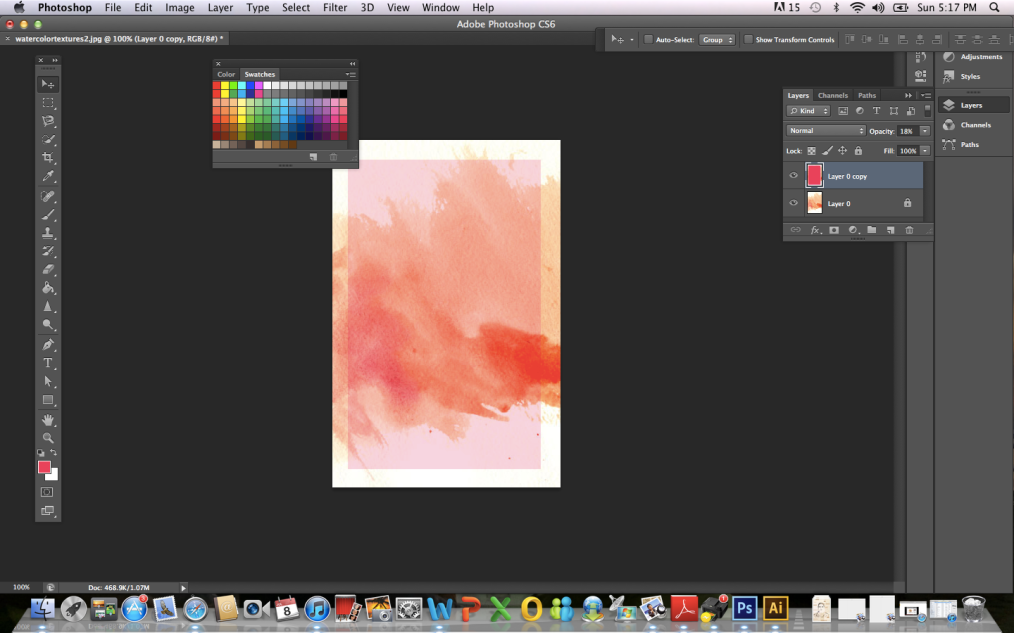
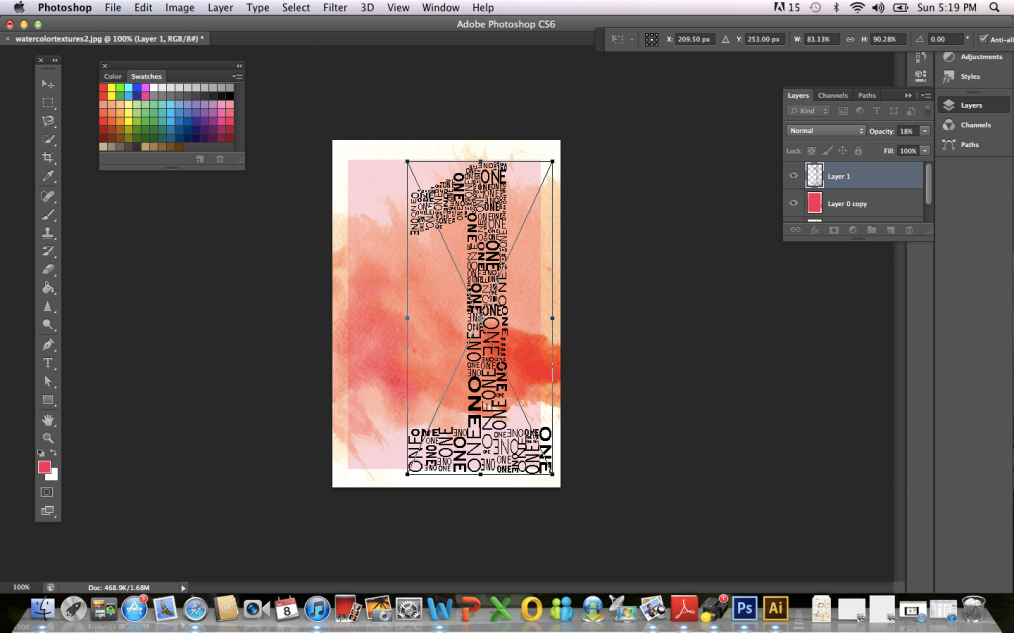
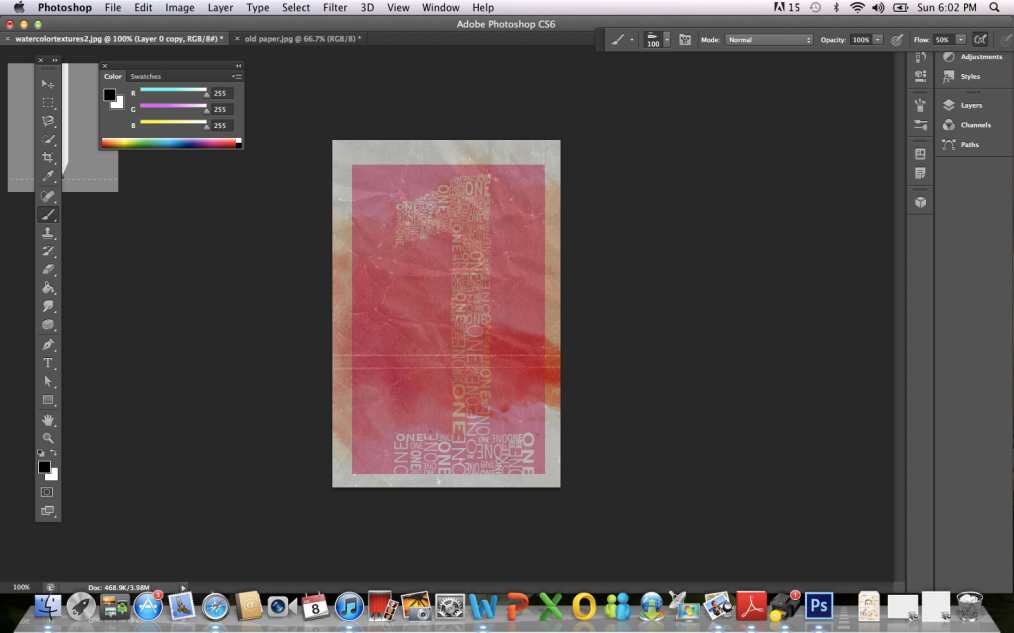
Press CMD+A to select all, then right click and select Transform Selection. Scale it down slightly to create a border effect then fill the inner portion with a bright colour.
Change the opacity to 18% to allow the underlying texture to show through.
Step 7:
Paste in the typographic elements from Illustrator. Arrange the image to extend from the lower right corner.
Step 8:
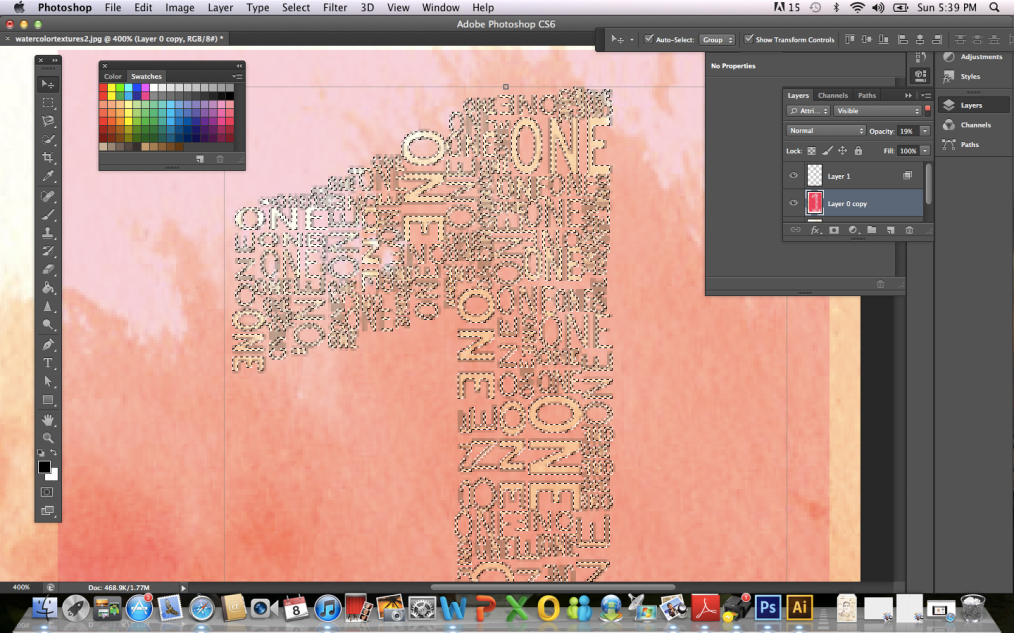
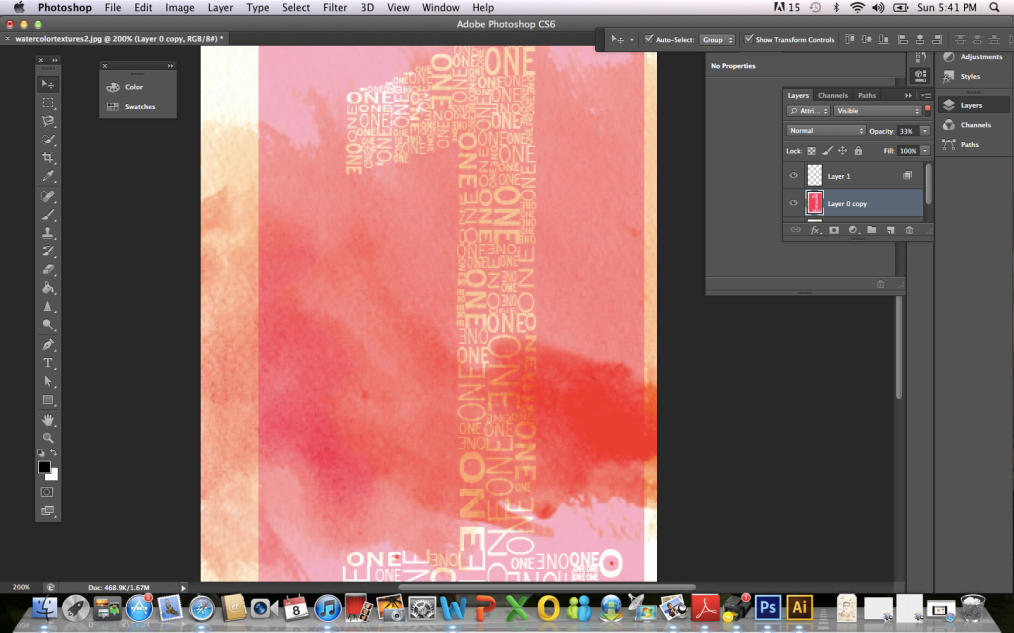
CMD+click on the typographic layer’s thumbnail to load the selection, then delete this selection from the blue panel layer to create a mask or basic screenprint style effect.
Step 9:
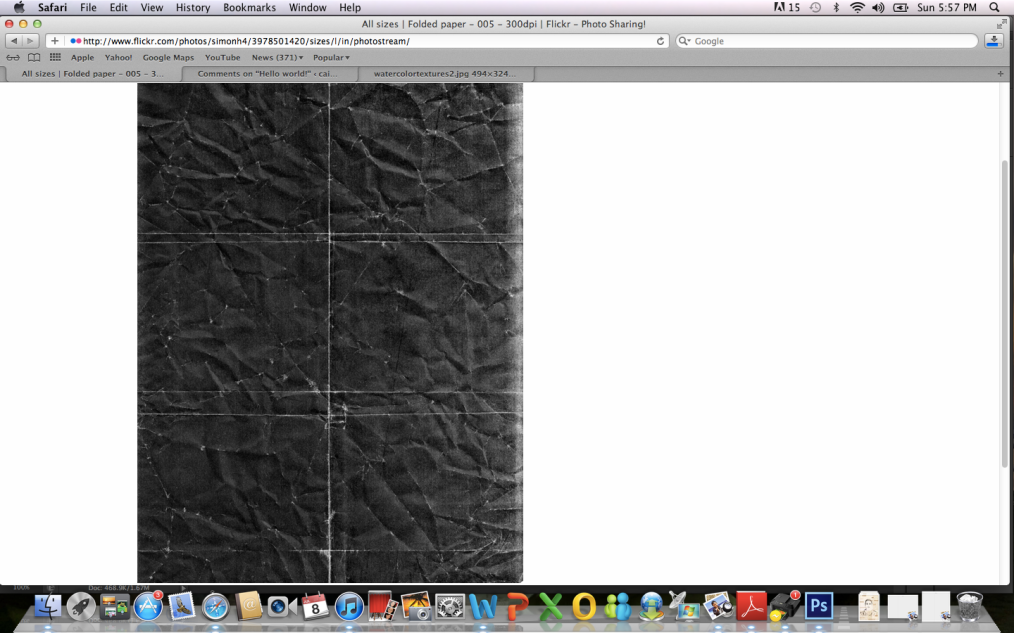
Google folded paper texture and you should find something like this:
Paste in the folded paper texture file above all other layers. Adjust the opacity to tone down the impact of the crease lines.
Step 10:
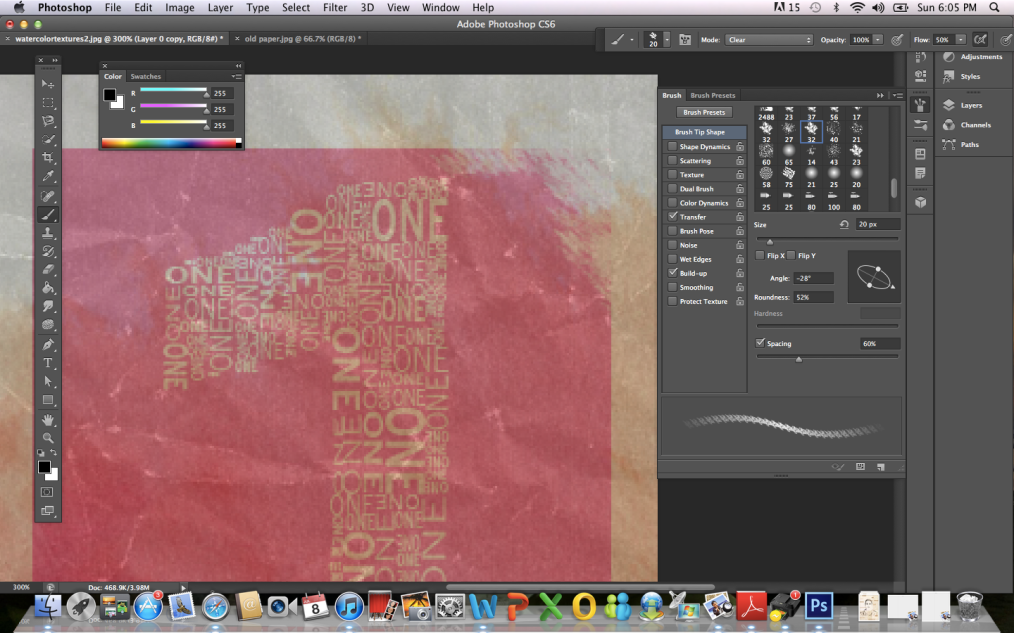
Add a layer mask then use a selection of brushes to distress the edges.Use a range of brushes from brush strokes to spray paint to add a variety of different textures.
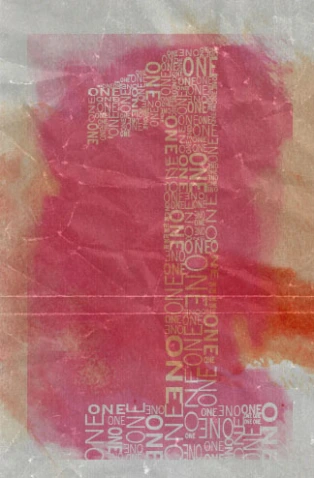
You should end up with soothing like this:
Hope you enjoyed this tutorial! Please feel free to comment 🙂
Leave a comment